आज के समय में AI की मदद से images बनाना बहुत आसान हो गया है, लेकिन सही result पाने के लिए सही AI Image Prompts लिखना जरूरी होता है। बहुत से लोग सिर्फ साधारण prompt लिखते हैं और उन्हें average output मिलता है।
अगर आप high-quality, realistic और professional images बनाना चाहते हैं, तो आपको structured और detailed AI Image Prompts लिखने होंगे। इस लेख में आपको beginner से लेकर advanced level तक पूरी जानकारी दी जाएगी।
AI Image Prompt क्या होता है?
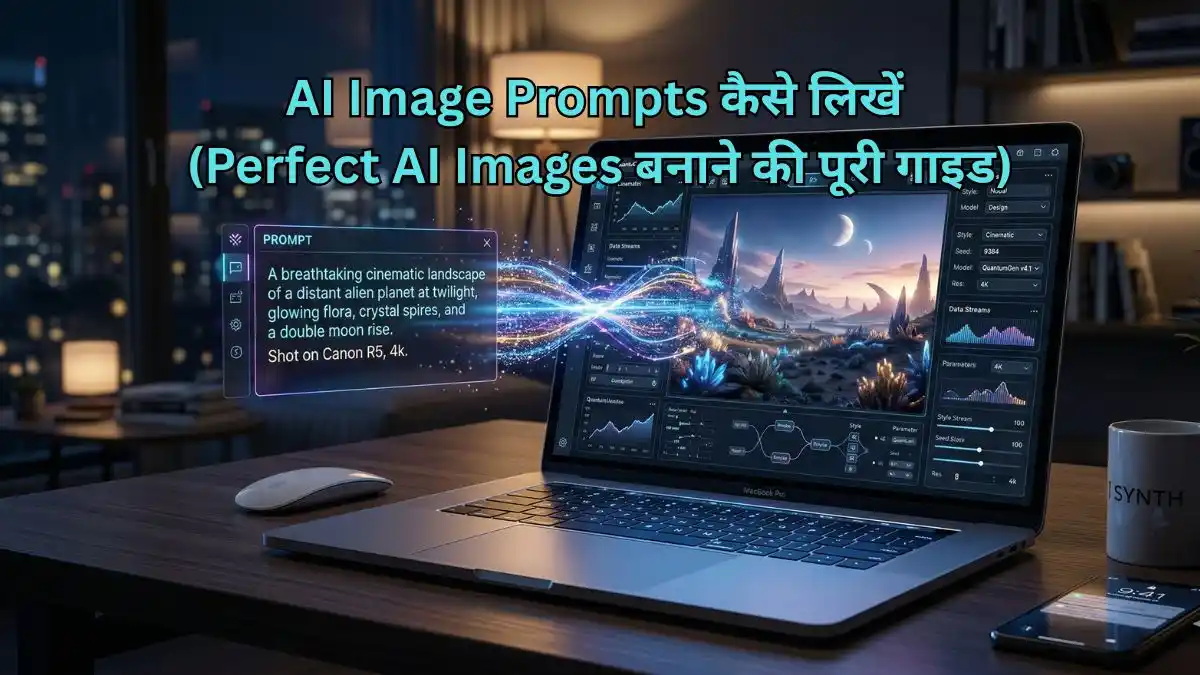
AI Image Prompt एक text instruction होता है जिसे आप किसी AI image generator में डालते हैं। AI उसी instruction को समझकर image तैयार करता है।
सरल शब्दों में:
आप जो लिखते हैं, वही AI बनाता है।
AI Image Prompts के मुख्य भाग
एक अच्छा AI Image Prompts बनाने के लिए इन components को समझना जरूरी है:
1. Subject (विषय)
आप क्या बनाना चाहते हैं
उदाहरण: girl, boy, mountain, car
2. Style (स्टाइल)
image का look कैसा होगा
उदाहरण: cinematic, realistic, anime, 3D
3. Lighting (लाइटिंग)
image में रोशनी का प्रकार
उदाहरण: soft light, sunset lighting, studio light
4. Camera Details (कैमरा एंगल)
image किस angle से दिखेगी
उदाहरण: close-up, wide shot, portrait shot
5. Quality (क्वालिटी)
image कितनी detailed होगी
उदाहरण: 4k, ultra realistic, high detail
6. Background (बैकग्राउंड)
image का environment
उदाहरण: city, beach, studio background
Step-by-Step AI Image Prompts कैसे लिखें
Step 1: Subject लिखें
सबसे पहले तय करें कि image में क्या होना चाहिए
Example:
A beautiful Indian girl
Step 2: Style और Look जोड़ें
अब image का style define करें
Example:
cinematic style, realistic look
Step 3: Lighting जोड़ें
Lighting image को professional बनाती है
Example:
soft lighting, sunset light
Step 4: Camera Angle जोड़ें
इससे image का perspective improve होता है
Example:
portrait shot, close-up
Step 5: Quality Keywords जोड़ें
High-quality output के लिए जरूरी
Example:
ultra realistic, 4k, high detail
Step 6: Background और Environment जोड़ें
Image को natural बनाता है
Example:
city street background
Face Lock और Character Consistency (बहुत महत्वपूर्ण)
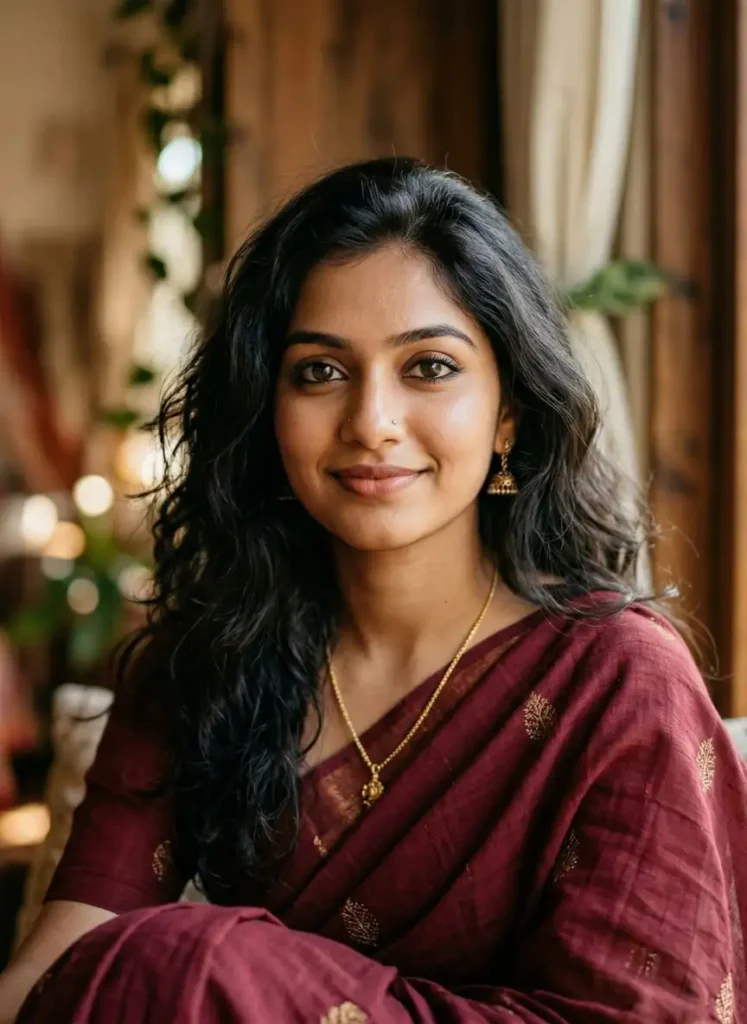
अगर आप अपनी फोटो अपलोड करके same अपने face की बिल्कुल रियलिस्टिक फोटो बनाना चाहते हैं, तो simple prompt काम नहीं करेगा। इसके लिए आपको face consistency या face lock techniques का उपयोग करना होता है।
Face Lock के तरीके:
- Same description बार-बार use करें
Example: same face features, same hairstyle - Reference image का उपयोग करें (जहाँ supported हो)
- Keywords जोड़ें:
- same character
- consistent face
- identical face
Example Prompt (Face Consistency के साथ)
A beautiful Indian girl, same face, consistent face features, long black hair, cinematic lighting, ultra realistic, 4k, portrait shot
Aspect Ratio (Image Size) कैसे सेट करें
Aspect ratio image के आकार को define करता है। यह बहुत महत्वपूर्ण होता है क्योंकि हर platform के लिए अलग size चाहिए।
Common Aspect Ratios:
- Square image: 1:1 (Instagram post)
- Portrait image: 2:3 या 4:5 (Instagram reels cover)
- Landscape image: 16:9 (YouTube thumbnail, wallpaper)
Prompt में Aspect Ratio कैसे लिखें
कुछ tools में आप सीधे ratio लिख सकते हैं:
--ar 1:1
--ar 2:3
--ar 16:9
Example Prompt (Aspect Ratio के साथ)
A cinematic photo of a mountain landscape, sunrise lighting, ultra realistic, 4k --ar 16:9
Advanced Prompt Techniques
अगर आप professional level images बनाना चाहते हैं, तो ये techniques जरूर use करें:
1. Negative Prompts
ये unwanted चीजों को हटाने के लिए होते हैं
Example:
blurry, low quality, distorted face, extra fingers
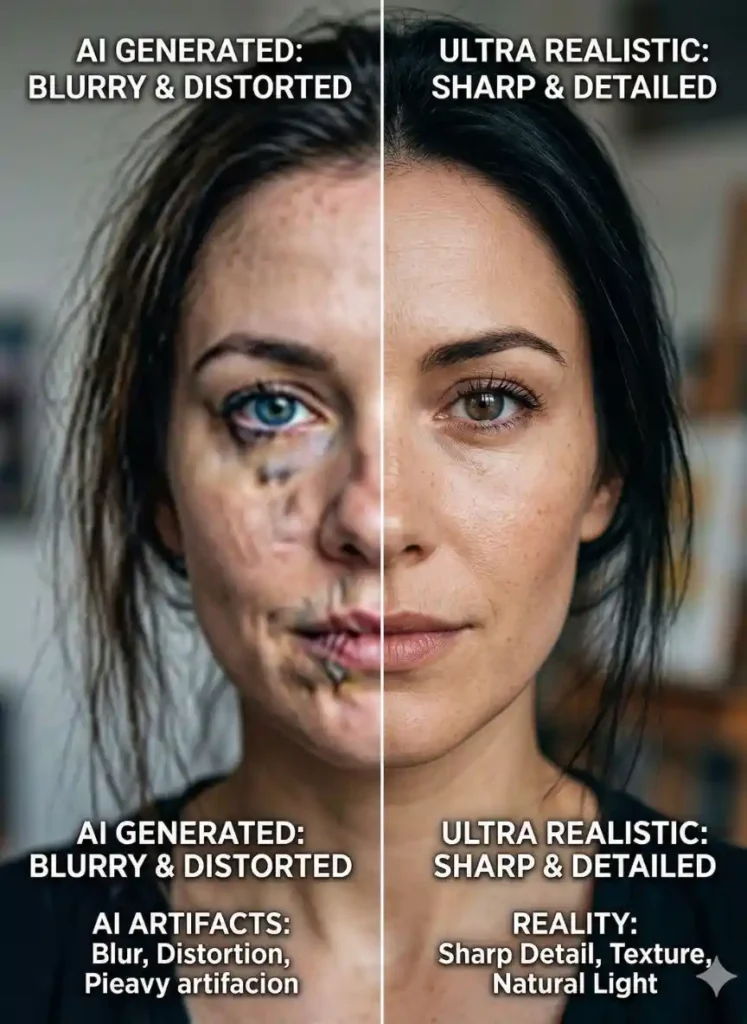
2. Detail Enhancement
Image को ज्यादा realistic बनाने के लिए
Keywords:
- ultra detailed
- sharp focus
- high resolution
3. Color Tone और Mood
Image का feel improve करता है
Example:
- warm tone
- dark cinematic
- vibrant colors
AI Image Prompts में Camera Settings कैसे जोड़ें
अगर आप professional level images बनाना चाहते हैं, तो सिर्फ subject और lighting काफी नहीं है। आपको camera-related details भी add करनी चाहिए।
Common Camera Keywords:
- DSLR photography
- 50mm lens
- shallow depth of field
- bokeh background
- wide-angle shot
Example Prompt:
A beautiful Indian girl, cinematic lighting, 50mm lens, shallow depth of field, DSLR photography, ultra realistic, 4k --ar 2:3
इससे image में professional photography feel आता है।
Lighting Types का सही उपयोग कैसे करें
Lighting एक बहुत important factor है जो image का mood पूरी तरह बदल सकता है।
Popular Lighting Types:
- Soft lighting → smooth और natural look
- Cinematic lighting → dramatic और movie style
- Golden hour lighting → warm और attractive
- Studio lighting → clean और professional
Example:
A portrait of a man, golden hour lighting, warm tones, ultra realistic, 4k
Background और Environment को सही तरीके से कैसे लिखें
अच्छा background image को realistic और engaging बनाता है।
Example Backgrounds:
- city street
- beach sunset
- mountain landscape
- indoor studio
Example Prompt:
A boy standing in a city street, cinematic lighting, blurred background, ultra realistic, 4k
Negative Prompts का सही उपयोग
Negative prompts unwanted चीजों को हटाने के लिए उपयोग किए जाते हैं।
Common Negative Keywords:
- blurry
- low quality
- distorted face
- extra fingers
Example:
--no blur, low quality, distorted face
इससे image ज्यादा clean और professional बनती है।
Full Advanced Example Prompt
A beautiful Indian girl, same face, consistent features, portrait shot, soft lighting, cinematic mood, ultra realistic, 4k, DSLR quality, sharp focus, detailed skin texture --ar 2:3 --no blur, low quality, distorted face
Common Mistakes (जिनसे बचना जरूरी है)
- बहुत छोटा prompt लिखना
- detail ना देना
- aspect ratio ignore करना
- face consistency ना रखना
AI Image Prompts को बेहतर बनाने के Tips
- हमेशा detailed prompt लिखें
- subject clear रखें
- lighting जरूर जोड़ें
- different variations try करें
- realistic keywords का उपयोग करें
FAQs अक्सर पूछे जाने वाले सवाल
क्या English में prompt लिखना जरूरी है?
हाँ, बेहतर result के लिए English में prompt लिखना सबसे सही रहता है।
क्या हर बार नया face बनता है?
हाँ, अगर आप face lock technique use नहीं करते तो हर बार अलग face बन सकता है।
क्या aspect ratio जरूरी है?
हाँ, सही platform के लिए सही ratio बहुत जरूरी है।
निष्कर्ष
एक प्रभावी AI Image Prompts लिखना सिर्फ कुछ शब्द जोड़ने तक सीमित नहीं है, बल्कि यह एक सही structure, स्पष्ट detail और उचित keywords के संतुलन पर आधारित होता है। जब आप subject, style, lighting, camera angle और aspect ratio जैसी सभी जरूरी चीजों को सही तरीके से शामिल करते हैं, तो AI को आपकी आवश्यकता पूरी तरह समझ में आती है और output की quality अपने आप बेहतर हो जाती है।
साथ ही, face consistency, negative prompts और detail enhancement जैसी advanced techniques का उपयोग करने से आप साधारण images की जगह professional और realistic images बना सकते हैं। यदि आप लगातार practice करते हैं और prompts को सुधारते रहते हैं, तो धीरे-धीरे आप high-quality AI images बनाने में पूरी तरह निपुण हो जाएंगे।